
Role-Based Access Control (RBAC) for CoreStack Assessments
Introduction
Roles for CoreStack Assessments are created based on how a feature functions. In CoreStack application, Role-Based Access Control (RBAC) is used to define which roles can perform what functions. That is, which features can be accessed and worked on by which roles.
The table below lists all the features and sub-features, along with roles and access type. Write access is available for all the roles available in Assessments, but it’s Read-Write access which helps a user to take action or work on a feature.
The table below lists the roles that have Read-Write access. These roles are assigned as per features and its sub-features.
| Feature (Policies) | Sub-Features (Sub-policies) | Role | Access Type |
|---|---|---|---|
| Workload Management | - Create Workload - Edit Workload - Archive Workload - Duplicate Workload | - Workload Owner - Assessment Approver | Read-Write |
| Workload Contributor | - Edit Workload (Tier Changes) | - Workload Member | Read-Write |
| Assessment Management | - Edit Assessment settings > Change Owner/Approver - Edit Workload > Change Owner, Change Tier Owner | - Account Admin - Tenant Admin | Read-Write |
| Assessment Contributor | - Change status of question - Change status of Best Practice (BP) - Mark as Resolved - Mark question as N/A - Mark BP as N/A - Update answer of BP - Change assignee at question level - Change owner at control level - Change assignee at control level - Best Practice Scan - Remediations | - Workload Owner - Assessment Approver - Workload Member | Read-Write |
| Assessment Management | - Restart Assessment - Start Assessment - Edit Assessment settings - Clone Assessment - Archive Assessment - Submit for approval - Create Milestone - Assessment Scan - Change status of question - Change status of BP - Mark BP as Resolved - Mark question as N/A - Mark BP as N/A - Update answer of BP - Change owner at question level - Change assignee at question level - Change owner at control level - Change assignee at control level - Best Practice Scan - Remediations | - Workload Owner | Read-Write |
| Assessment Approver | - Approve Assessment - Assessment Scan - Mark as Resolved/Open - Best Practice Scan | Read-Write | |
| Milestone Management | - Archive Milestone - Export Milestone | - Workload Owner | Read-Write |
| Basic Access | - Add Comments - Upload Attachments - Export Assessment | - Account Admin - Tenant Admin - Workload Owner - Assessment Approver - Workload Member - Assessment Reader | Read-Write |
Navigation
In the CoreStack application, navigate to Settings > Roles. The Roles & Permissions screen should be displayed, which allows you to create and manage roles.
Adding a New Role
A Tenant Admin can create and inherit permissions from an Account Admin. As an Account/Tenant admin, you have the option to create a user group and assign a relevant role to that group. An admin can add/remove users from the group as well.
The following steps need to be performed to add a new role:
-
In the Roles & Permissions screen, click Add New.
-
Provide the following details to create the role:
Field Description Role Type Role Types are the ones provided by default for access permissions. As an admin, you can select and clone access policies from these default roles for the role being created. Role Name Specify a name for the new role. The Role Name must be unique for each tenant you create one in. Cloud Accounts & Integrated Tools Select the cloud accounts and tools from the drop-down list that the new role will be associated with. Inventory Elements Select the required inventory elements from the list to be associated with the role. Role Description Enter a short description of the role being created. Quick Actions A list of access permissions will be populated in this field based on the role type selected. Enable the required access permissions for the role using the checkboxes. Refer to the section Configuring Access Policies for Custom Roles for more details. -
Click Apply.
A new role will be created and listed in the table.
Configuring Access Policies for Custom Roles
While creating new roles, you can configure the access permissions for different modules, such as Templates, Blueprints, Environments, etc.
Users have the ability to provide full access or customize the access per role. After completing the fields and selecting the access permissions, users can click the Apply button available in the top right-hand side to save the settings.
Note:
Click Provide Full Access or Remove All to enable or disable all the listed access permissions, respectively.
Managing Existing Roles
You can manage existing roles using the following options:
- On the Roles & Permissions screen, in the Role Name column, click the link for a role to view and update the details configured for the role.
- In the No. of Users column, click the link for a role to view the list of users currently assigned this role.
- In the Action column of a custom role, click the Delete icon to delete the role.
- Select the hamburger button (three horizontal bars) and enable or disable the columns to show or hide them from viewing in the table.
Searching Roles
Use the Search box above the Roles & Permissions table to find specific roles from the list. The search option is not case sensitive.
Change User Properties
As an account/tenant admin, you can change user properties and assign different roles to users.
To do this, follow the below steps:
- Click Settings > Users.
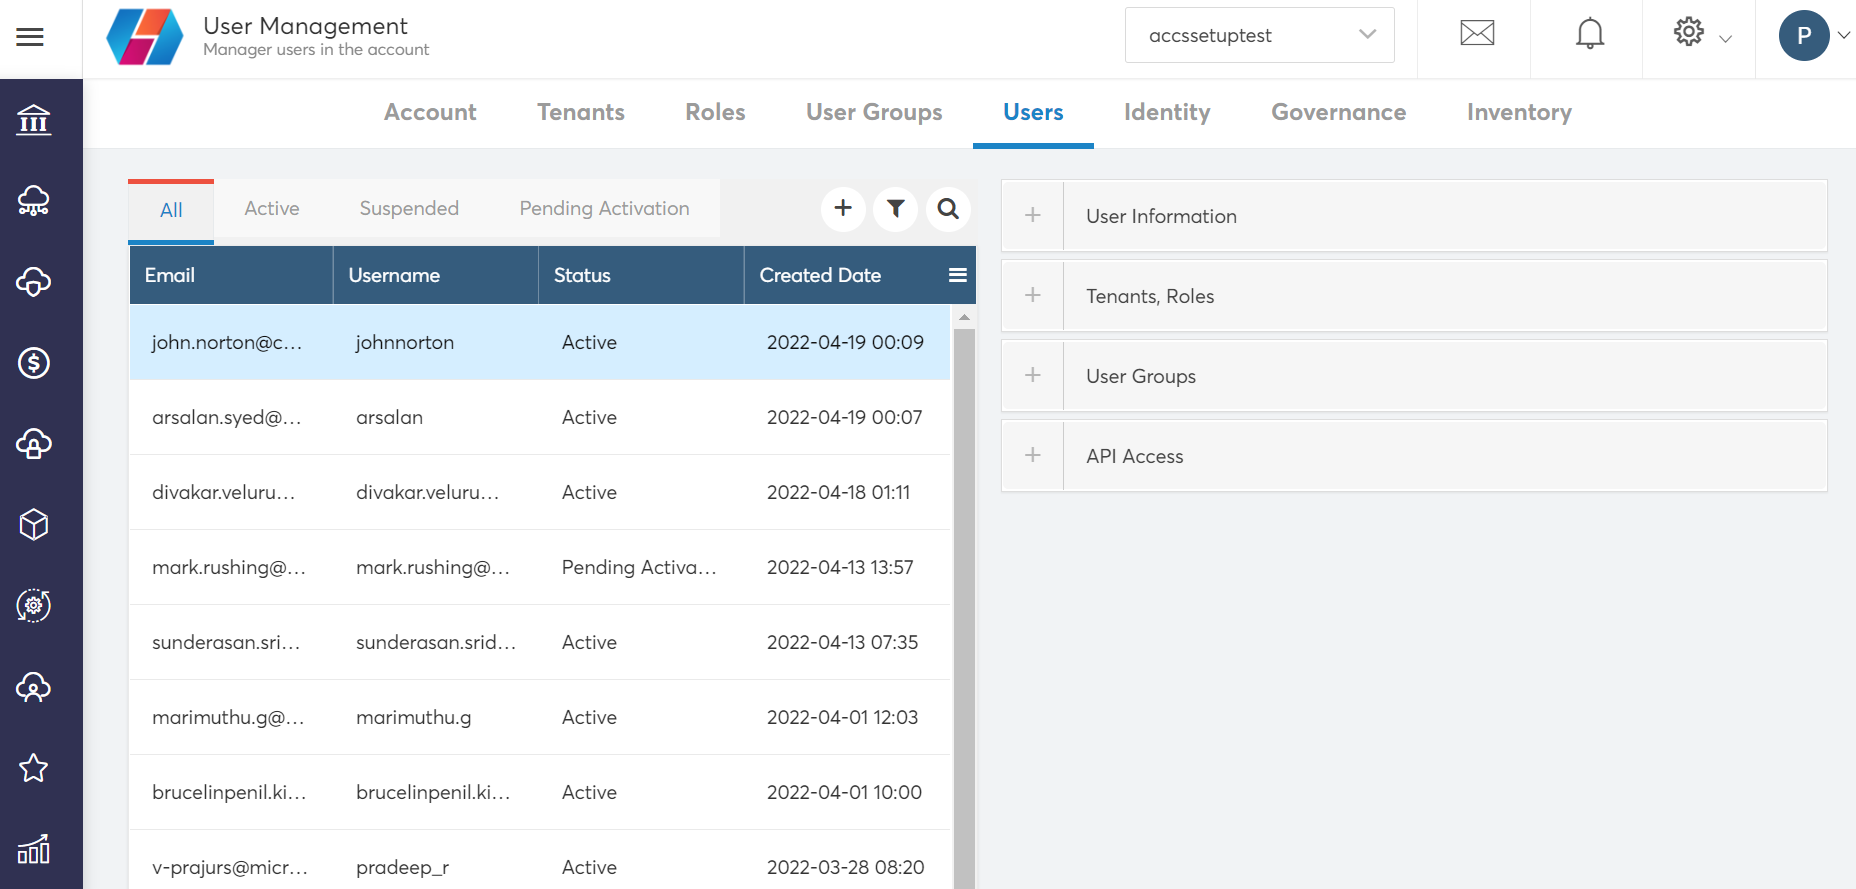
- In the Search box, type the name of the user and press Enter.
- To change user information, click the Edit button. You can change First Name, Last Name, and Email Address.
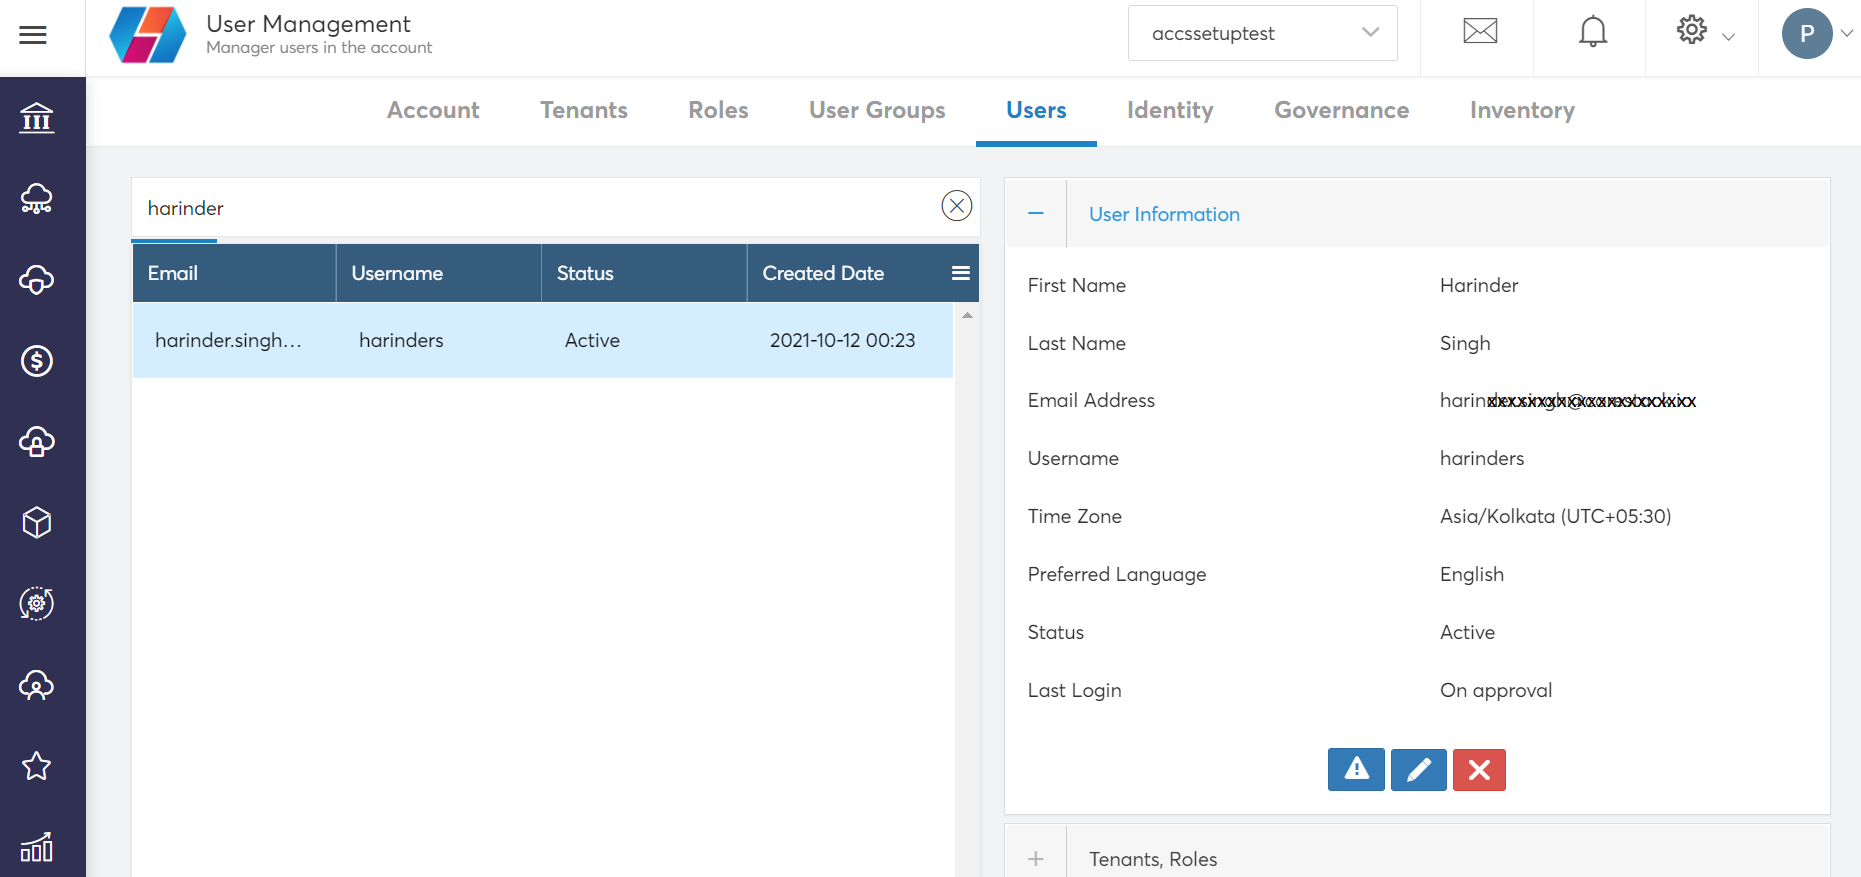
- Click Apply.
- Click Tenant Roles to change tenant role.
- Click the edit button and select the tenant you want to apply for the respective user.
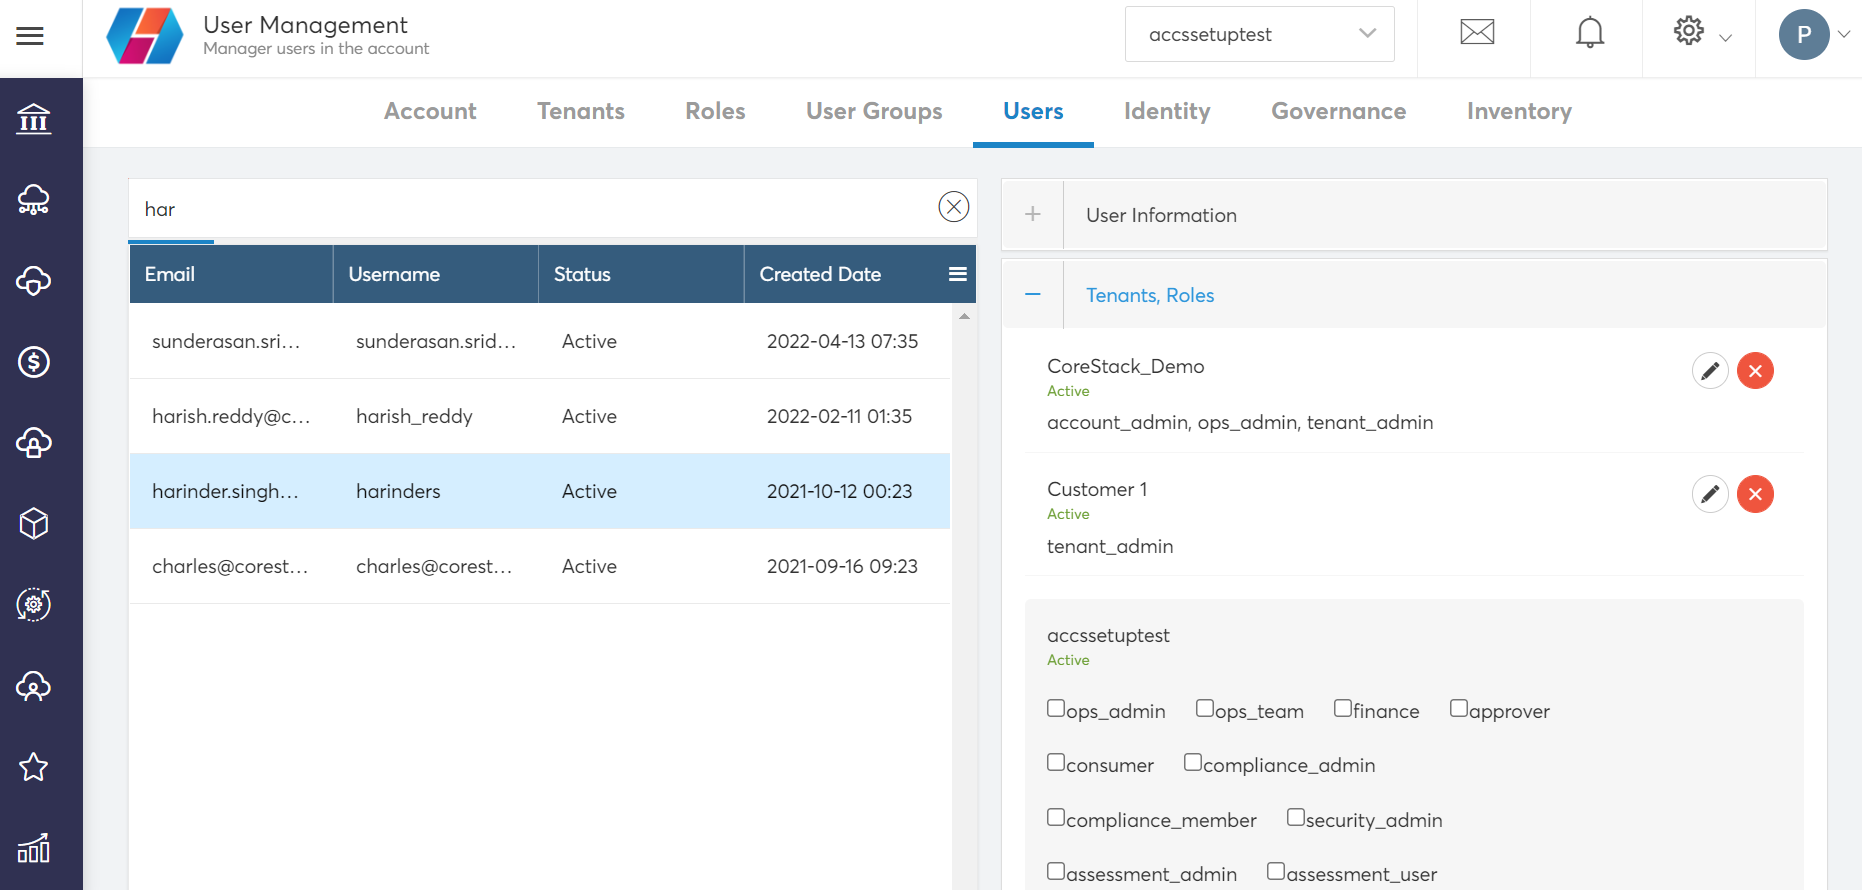
- Click Apply.
User Groups
Create User Group
As an account/tenant admin, you can create a user group and assign different roles to users.
To do that, follow the below steps:
- Click Settings > User Groups.
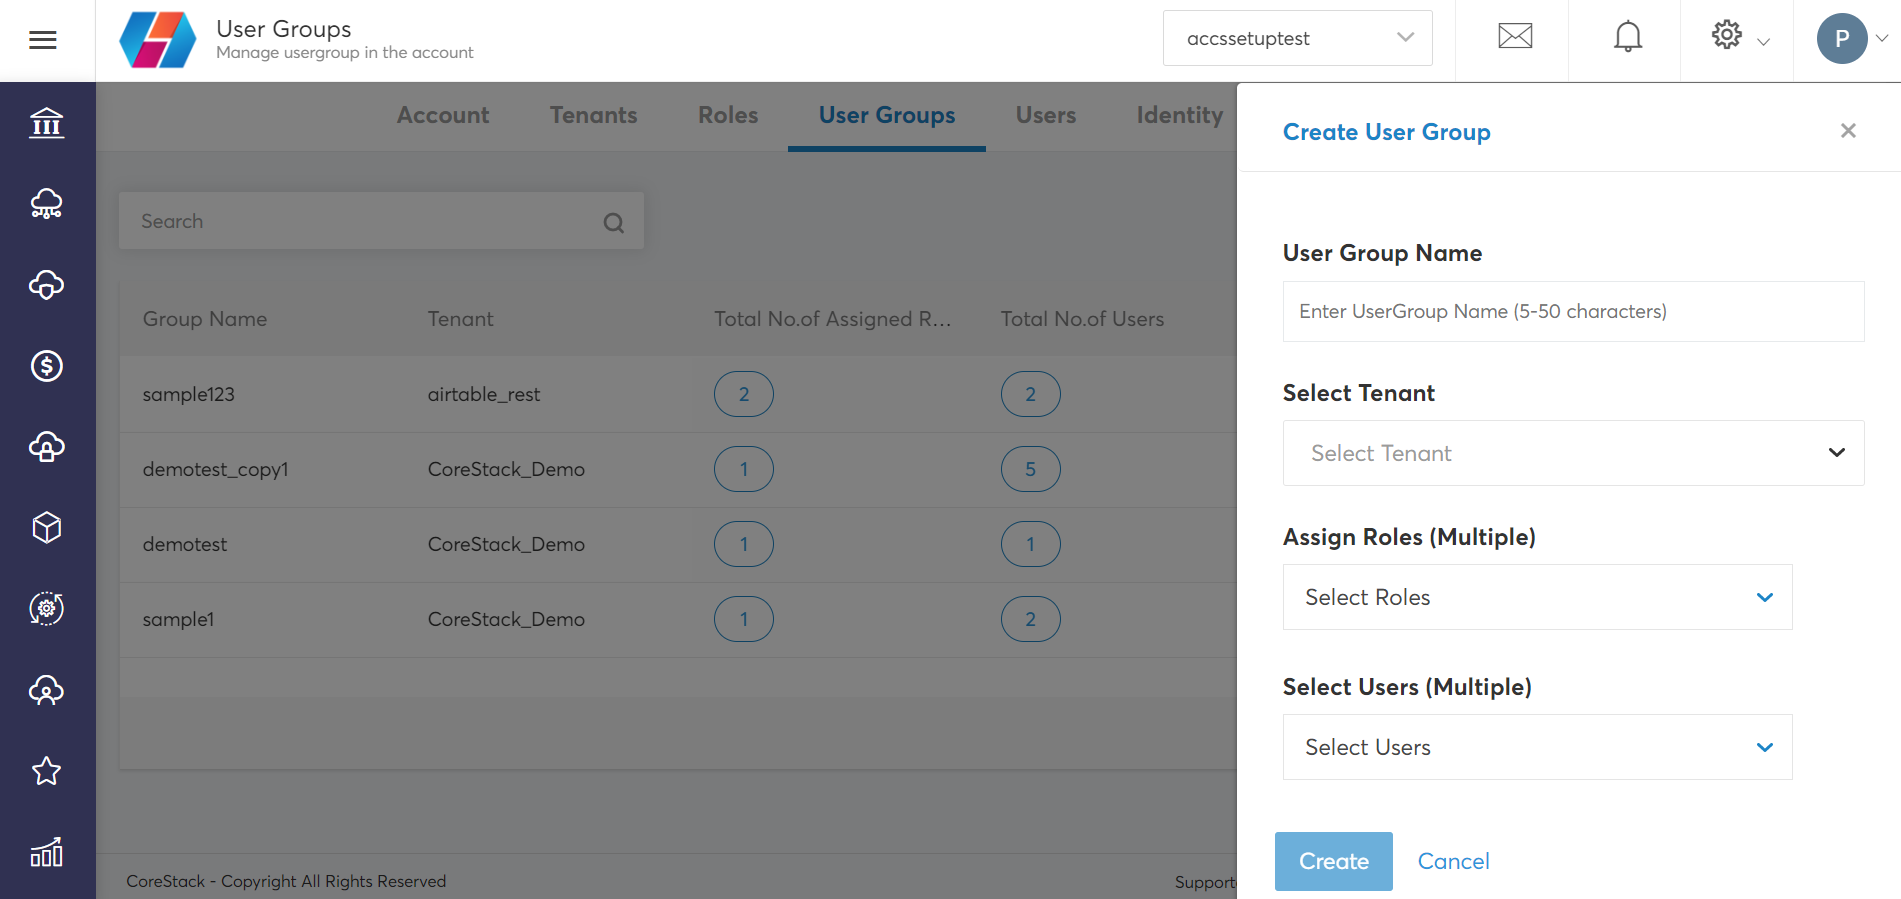
- Click Create User Group.
- In the User Group Name box, type the user group name.
- In the Select Tenants box, select the tenant. You can select one or more tenants.
- In the Assign Roles (Multiple) list, click to select the role. You can assign one or more roles.
- In the Select Users (Multiple) list, click to select the user. You can select one or more users.
- Click Create.
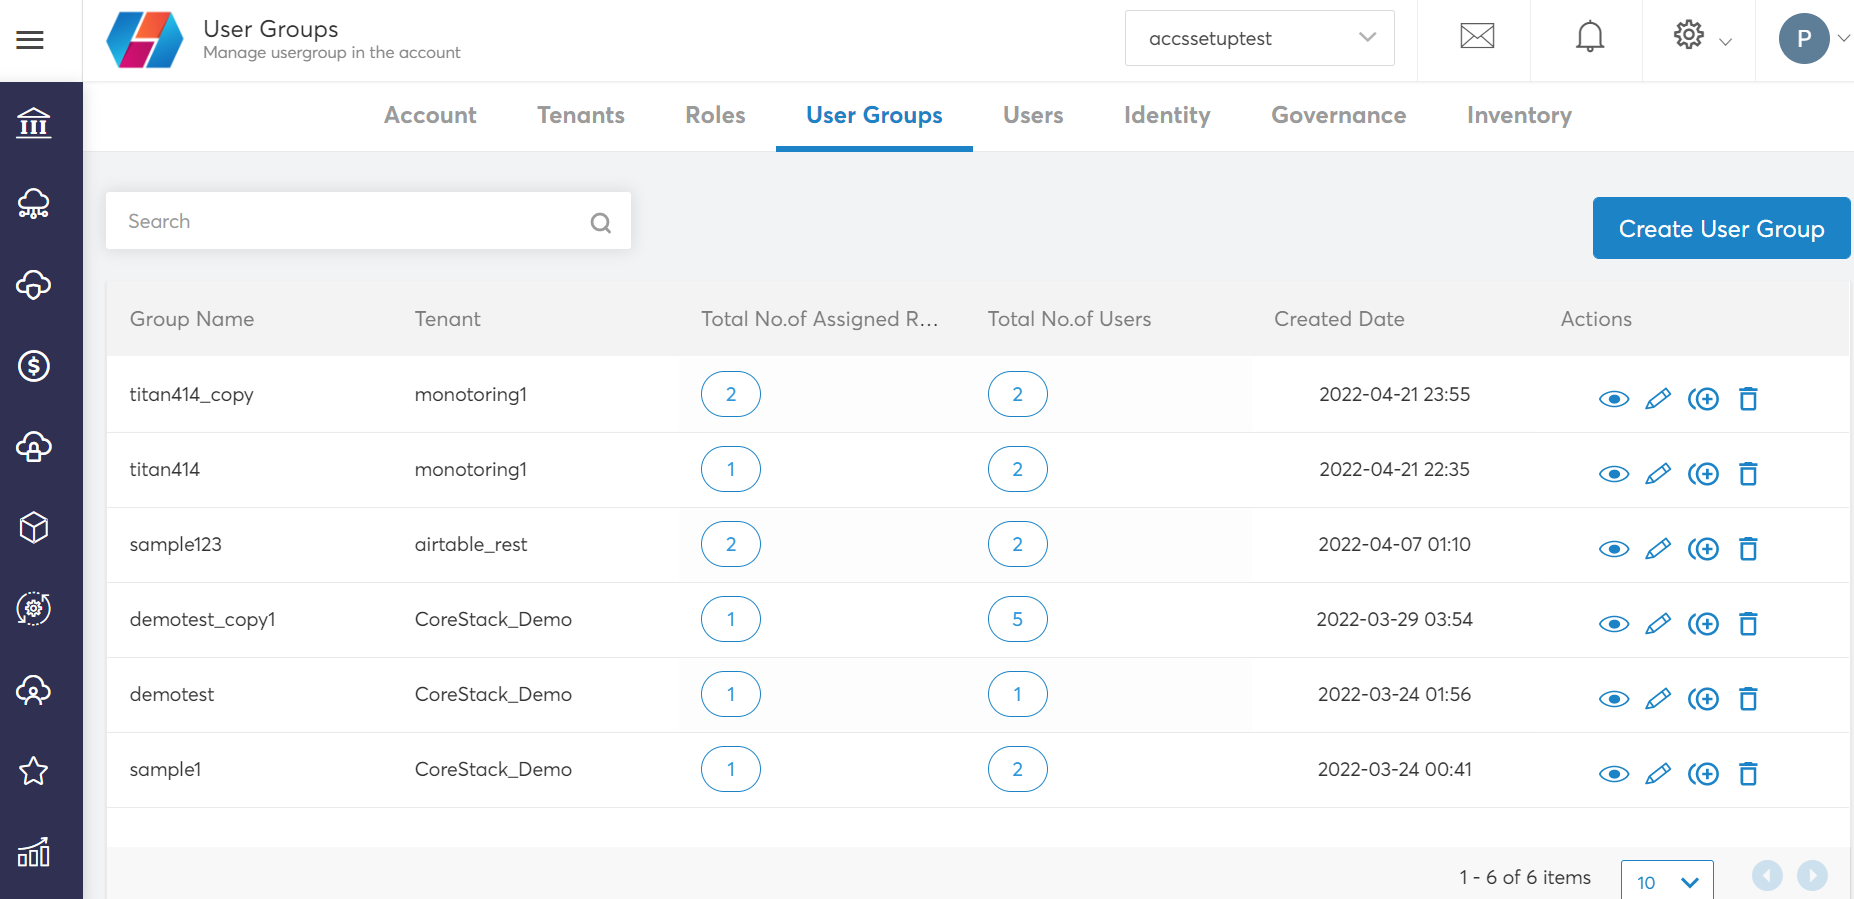
The new user group will be displayed in the list.
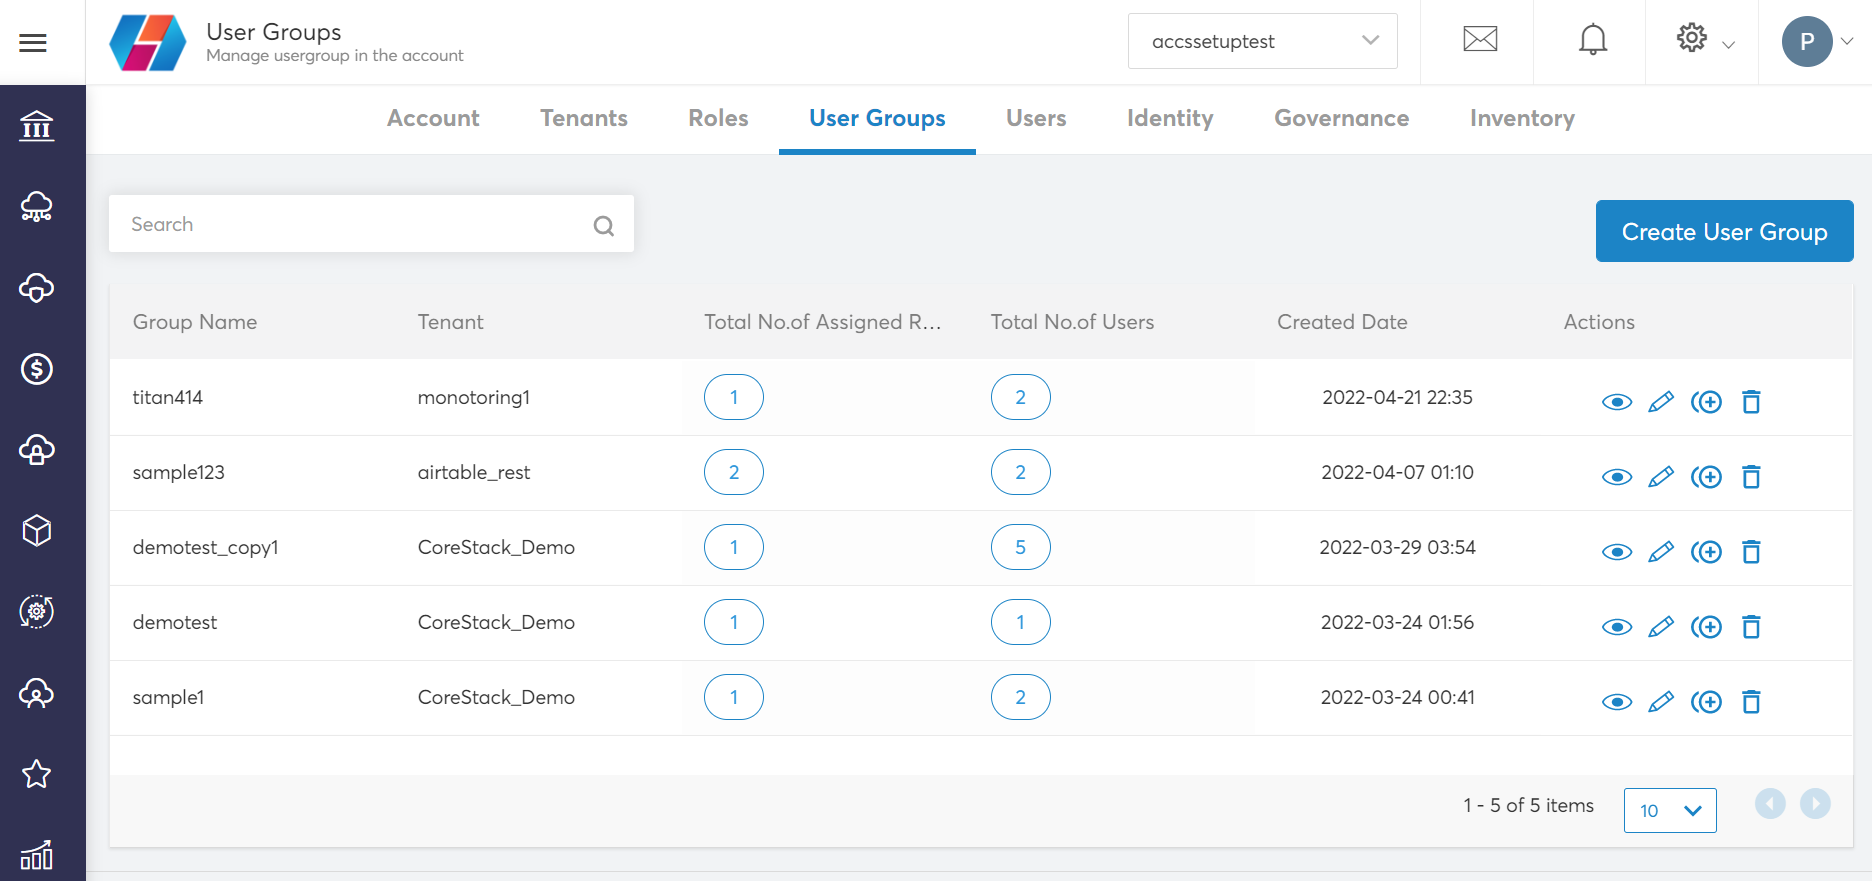
As an account/tenant admin, you can edit or delete a user group.
Clone User Group
You have the option to create a new user group by leveraging an existing user group’s property. You can edit the cloned user group's properties by modifying the tenants, roles, and users.
- Click Settings > User Groups.
- To clone an existing user group, click the Clone icon.

- After the user group is cloned, you can modify the below fields:
- User Group Name (by default the user group name appears with suffix _copy)
- Tenant
- Assign different roles
- User
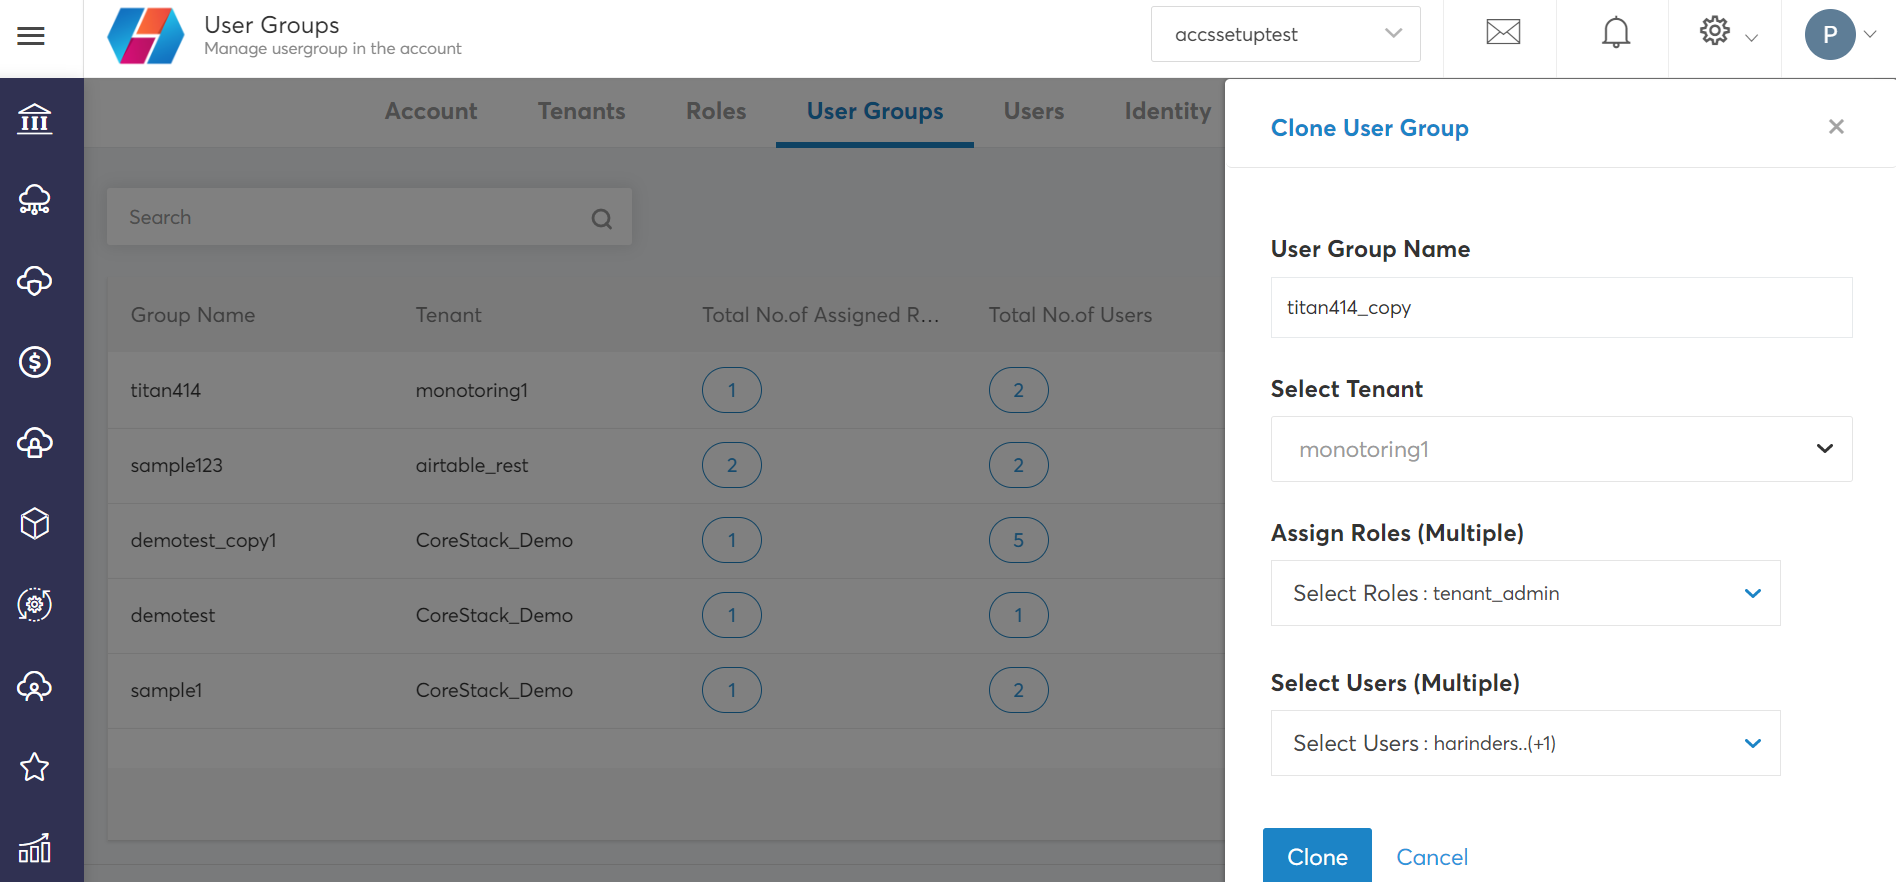
The cloned user group appears in the list. If you do not make any changes, the same properties will apply to the cloned group. You can change the cloned user group name, if you wish.
Updated 6 months ago