
AWS SSM Documents (old)
Introduction
The AWS Simple System Manager (SSM) Documents within AWS SSM help to manage various resources by automating the execution of specific tasks.
CoreStack offers integration with AWS SSM Documents that enables the user to view the list of documents and execute them to complete certain defined tasks. These are pre-defined documents which are already available in AWS, but they can be custom documents as well. Having these documents available in the CoreStack interface can help users save time and execute tasks more quickly.
Automation documents trigger a set of tasks that are completed automatically as per the details specified by the user. The user can select the document version and provide the appropriate details to run the automation documents. Tasks can be run on single or multiple instances.
Initially, CoreStack will offer integration with the SSM document - Automation document category for the execution of tasks. While the AWS SSM Documents service offers multiple document types, those additional types will be available in CoreStack over time.
SSM - Automation Documents
From CoreStack, you can select an Automation Document that will run on your cloud instances to carry out tasks. Each automation document has its own set of fields or sections that need to be filled.
Please perform the following steps to execute a document:
Note:
Ensure you fill all fields marked as mandatory. Mandatory fields have a red asterisk or star symbol next to it. Fields marked as optional can be filled depending on your needs, or can be left blank.
-
Login to the CoreStack application.
-
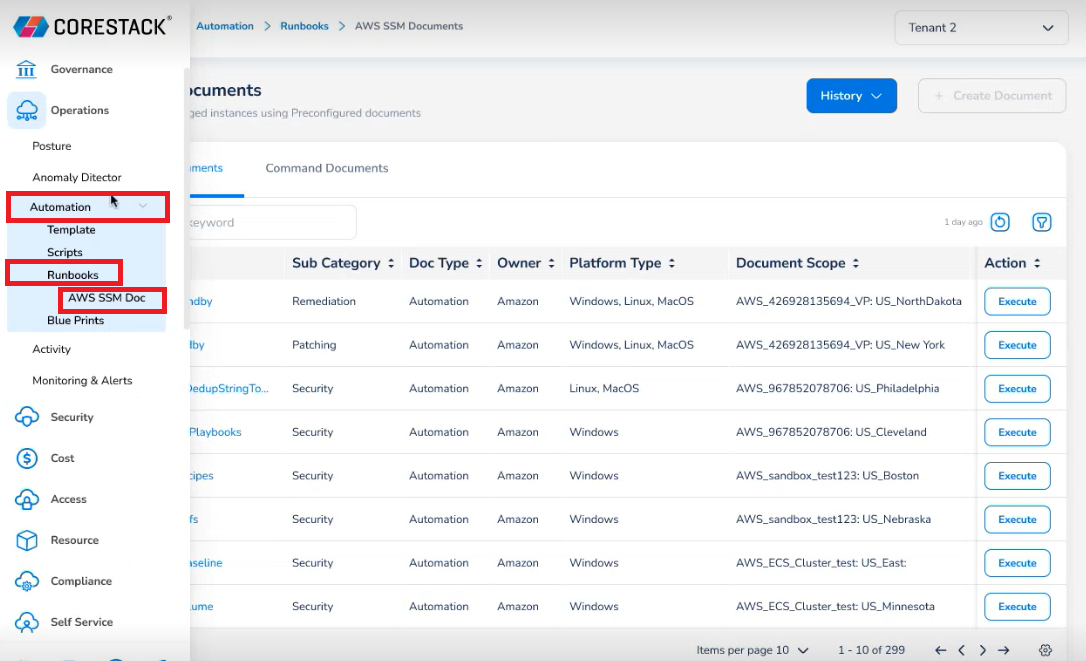
On the left navigation pane, go to Automation > Runbooks > AWS SSM Doc. The AWS SSM Documents screen shows Automation Documents.
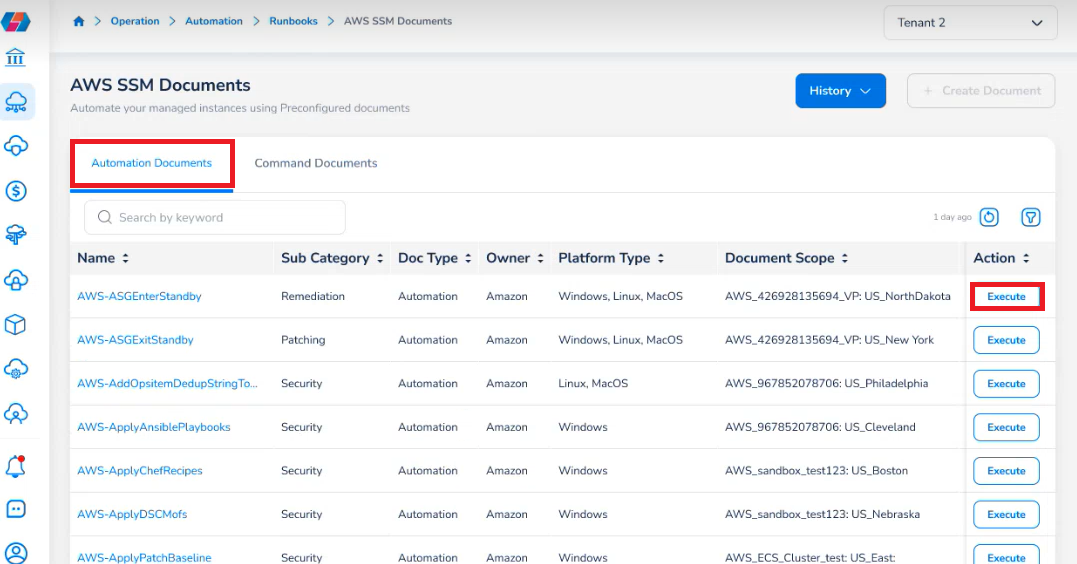
- On the Automation Documents tab, click Execute for the corresponding automation document.
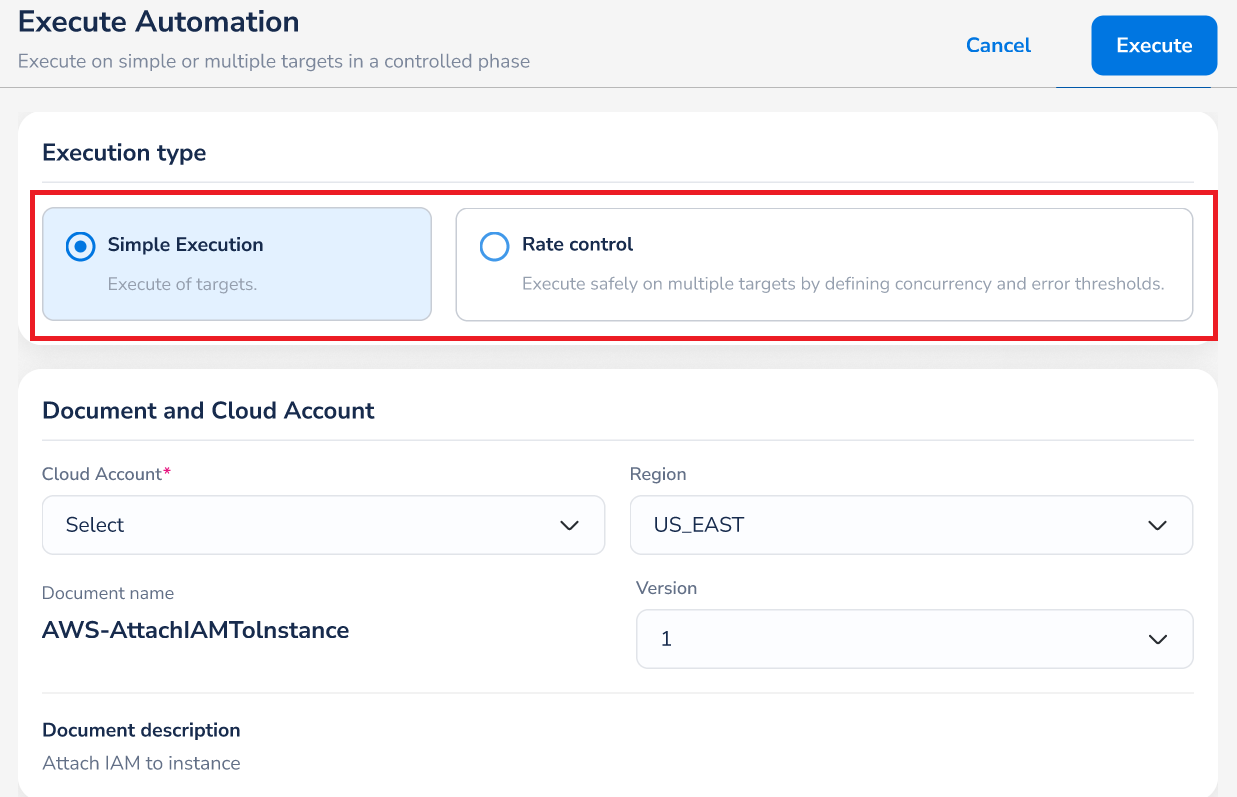
- In the Execution Type field, click to select either Simple Execution or Rate control.
- Simple Execution: Run the document on a single instance.
- Rate control: Run the document in multiple instances.
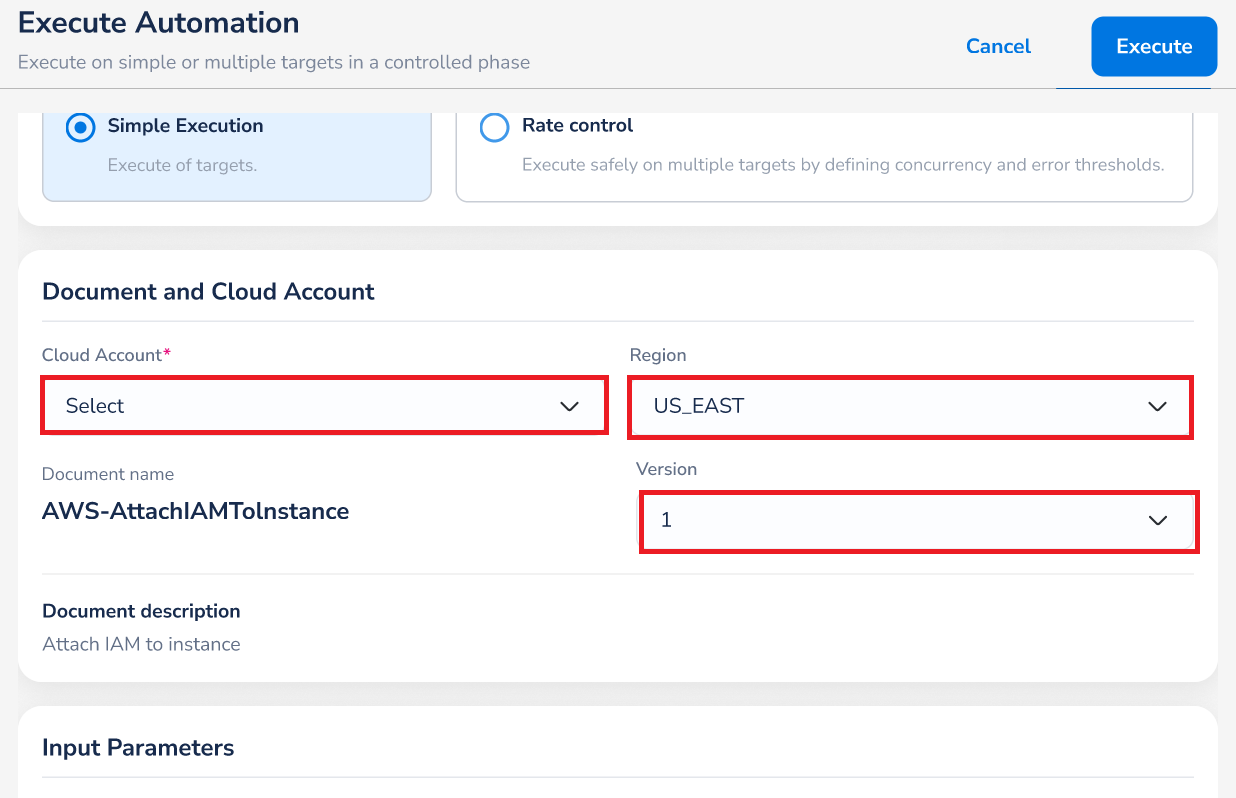
- In the Document and Cloud Account section, fill the following fields:
- In the Cloud Account list, click to select the cloud account.
- In the Region list, click to select the region of the cloud account.
- In the Version list, click to select the version of the document.
-
In the Targets section, fill the following fields:
Note:
This section appears only if "Rate control" is selected as the "Execution Type" in step 4.
- In the Parameter list, click to select a parameter.
- In the Target list, click to select a target.

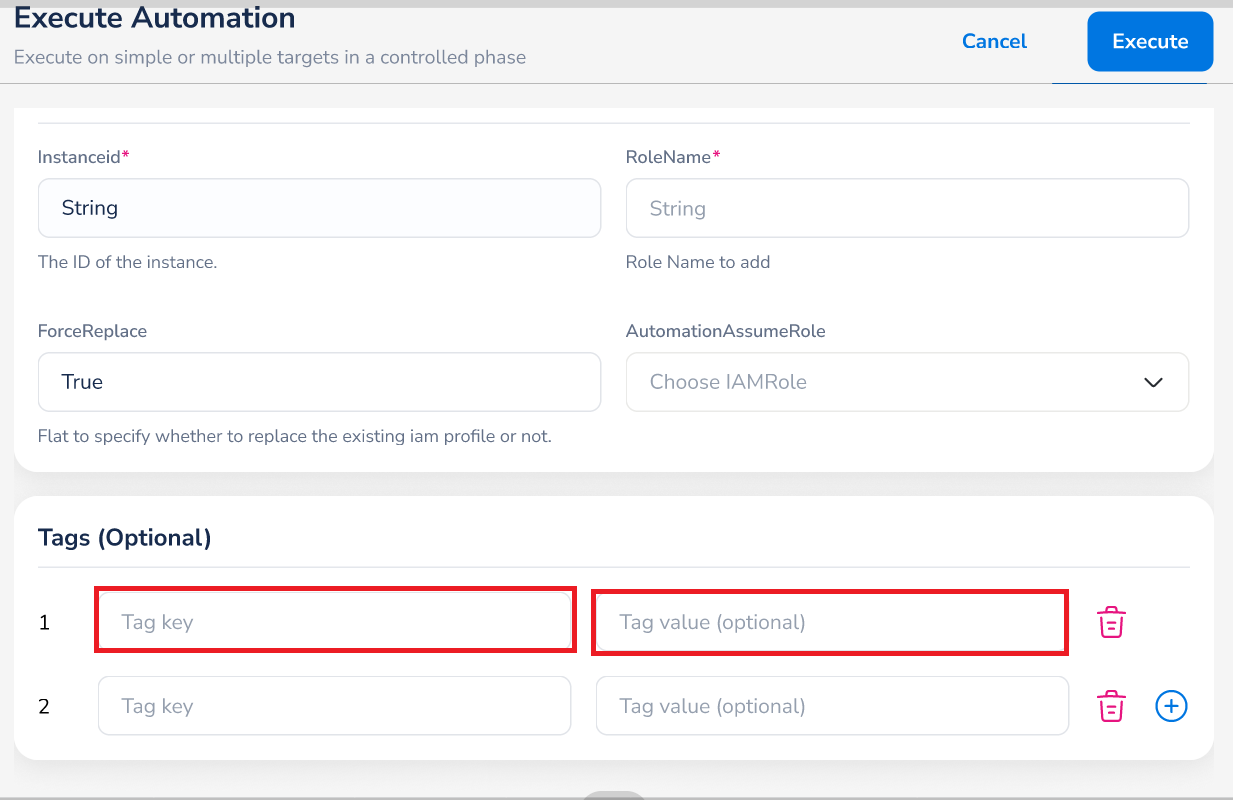
- In the Input Parameters section, fill the following fields:
- In the Instanceid box, type the instance ID on which the document will be executed.
- In the Role Name box, type the IAM role name.
- In the ForceReplace box, type a value.
- In the AutomationAssumeRole list, click to select the user role for performing automation tasks.

-
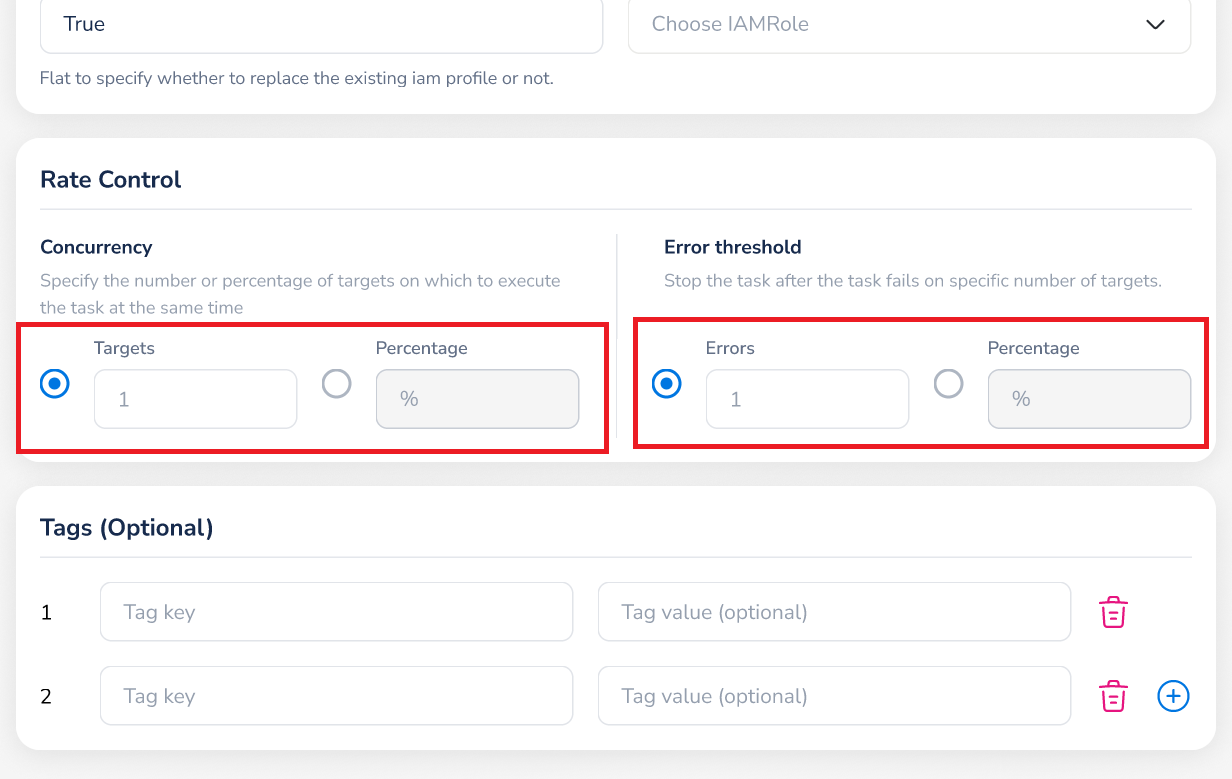
In the Rate Control section, fill the following fields:
Note:
This section appears only if "Rate control" is selected as the "Execution Type" in step 4.
- In the Concurrency field, select either Targets or Percentage and type a value for the selected option. This field specifies the number of targets on which a task can be run.
- In the Error threshold field, select either Errors or Percentage and type a value for the selected option. If a task encounters error, then that task will rerun for the number specified in this field. After the task runs for the number specified in this field, it will stop.
-
In the Tags (Optional) section, fill the following:
Note:
It is not mandatory to fill this section, but if users want to use tag key and tag value for the execution of a file, then they can add details here.
- In the Tag Key box, type the tag key and in the Tag value box, type the related tag value.
- If another tag key and tag value needs to be added, then in the next blank row, you can type the details.
- To add an additional row for tag key and tag value, click the plus icon at the bottom-right side of the screen.
- To delete a row, click the bin icon.
- Click Execute.

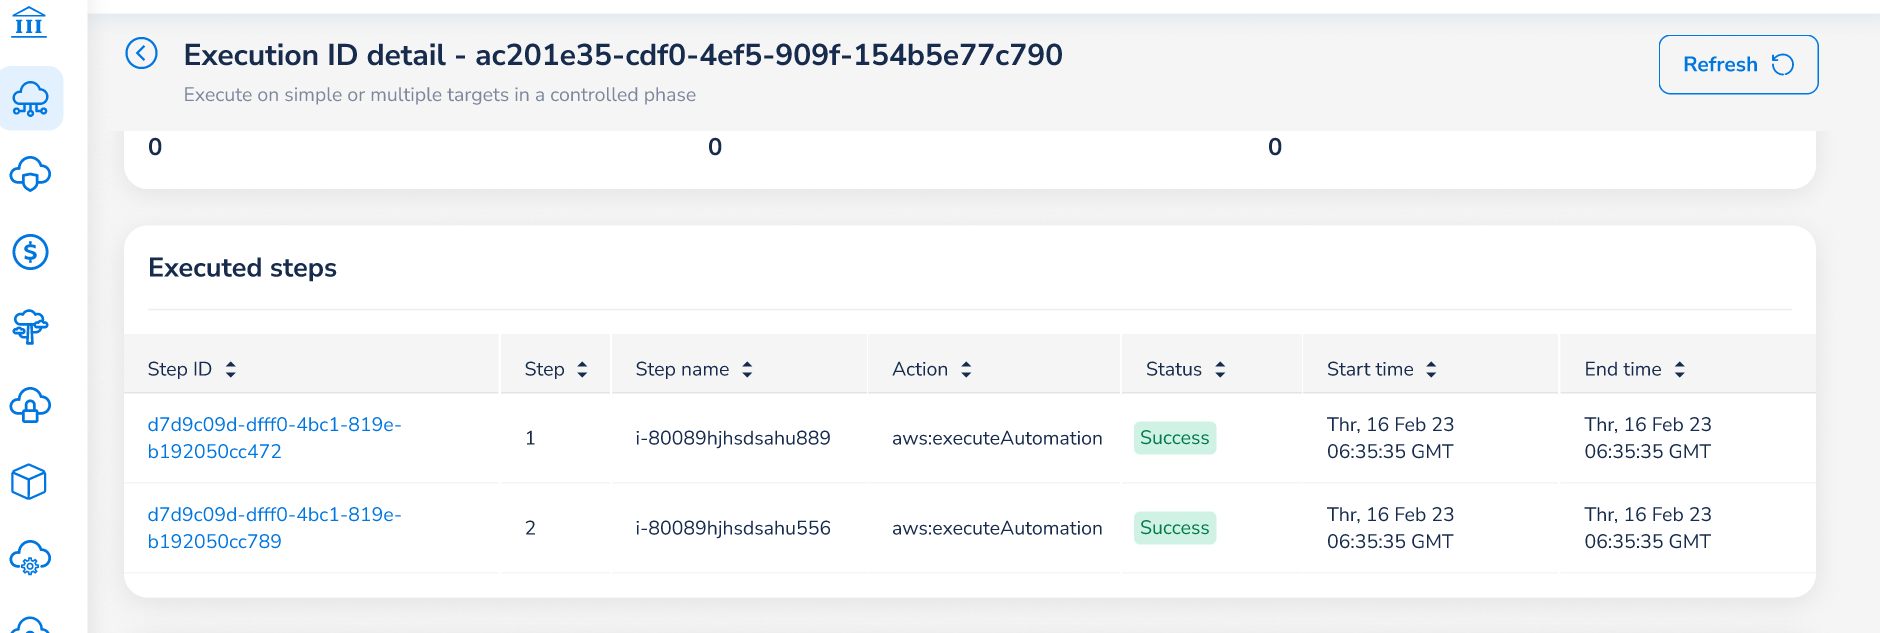
Users can view the execution details on the next screen. Users can see the execution ID, mode of execution, start and end time of execution, document scope, execution status, details of input parameters, details of executed steps, etc.
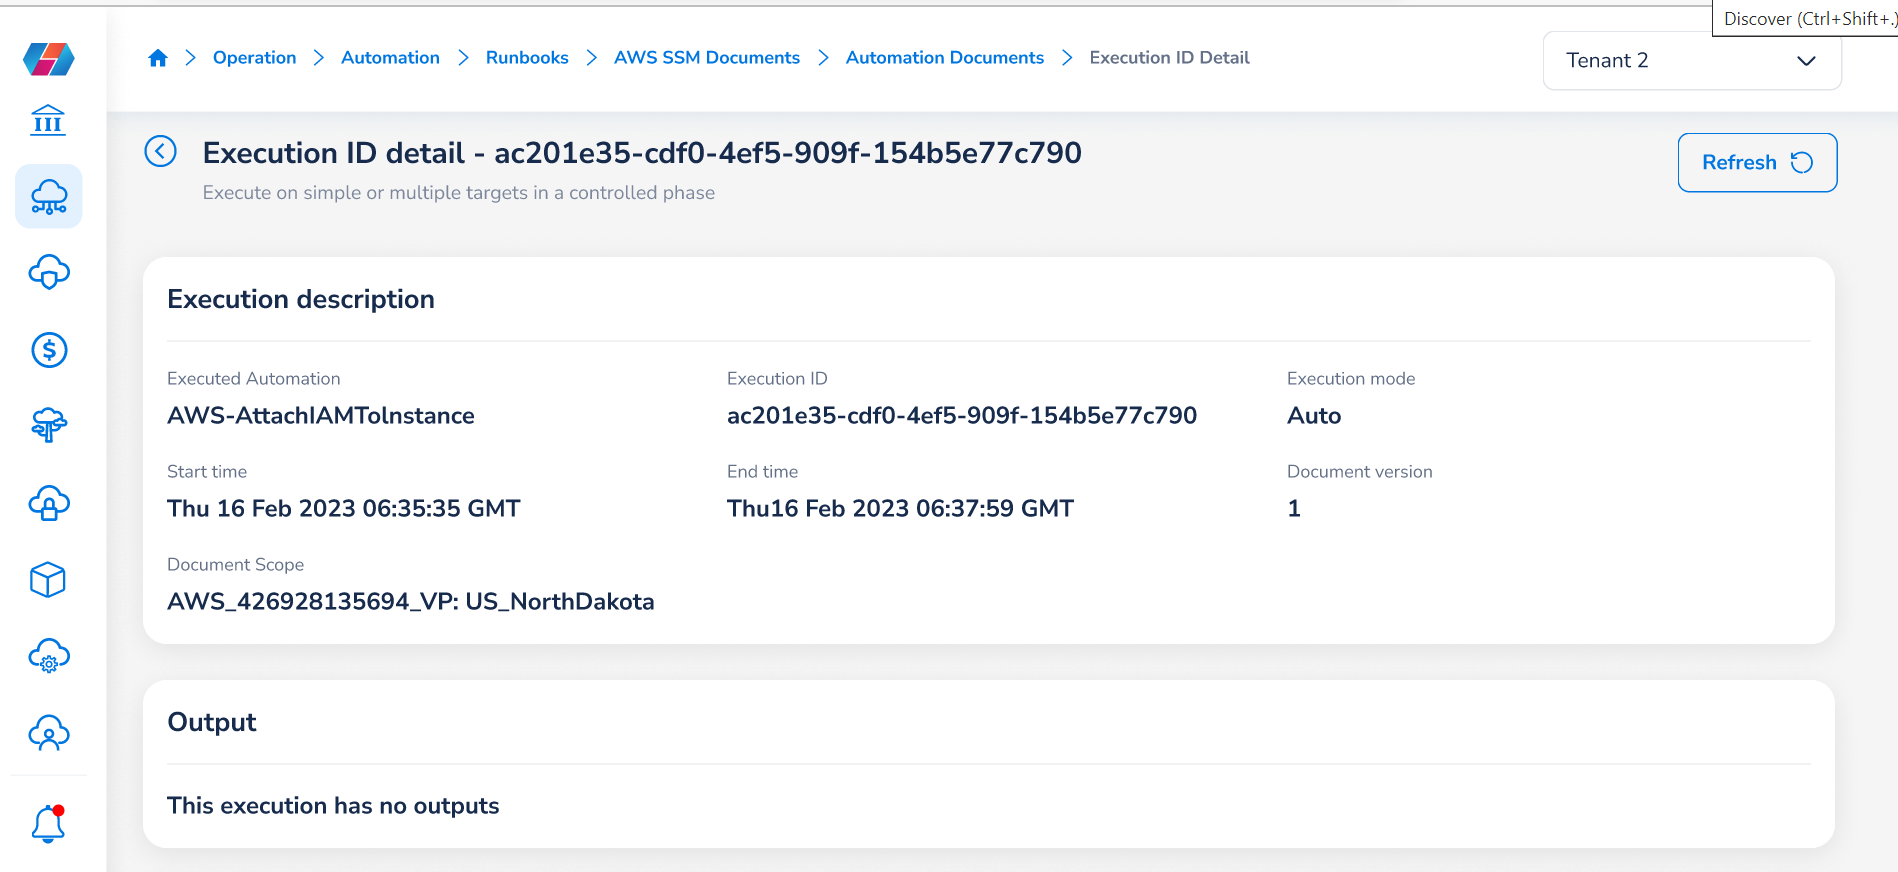
In the Executed steps section, users can click a step to view the step details.
Viewing Execution History
Users can view the execution history of Automation Documents on the AWS SSM Documents screen. To view the history of documents, click the History list on the top of the screen and then select Automation Execution.
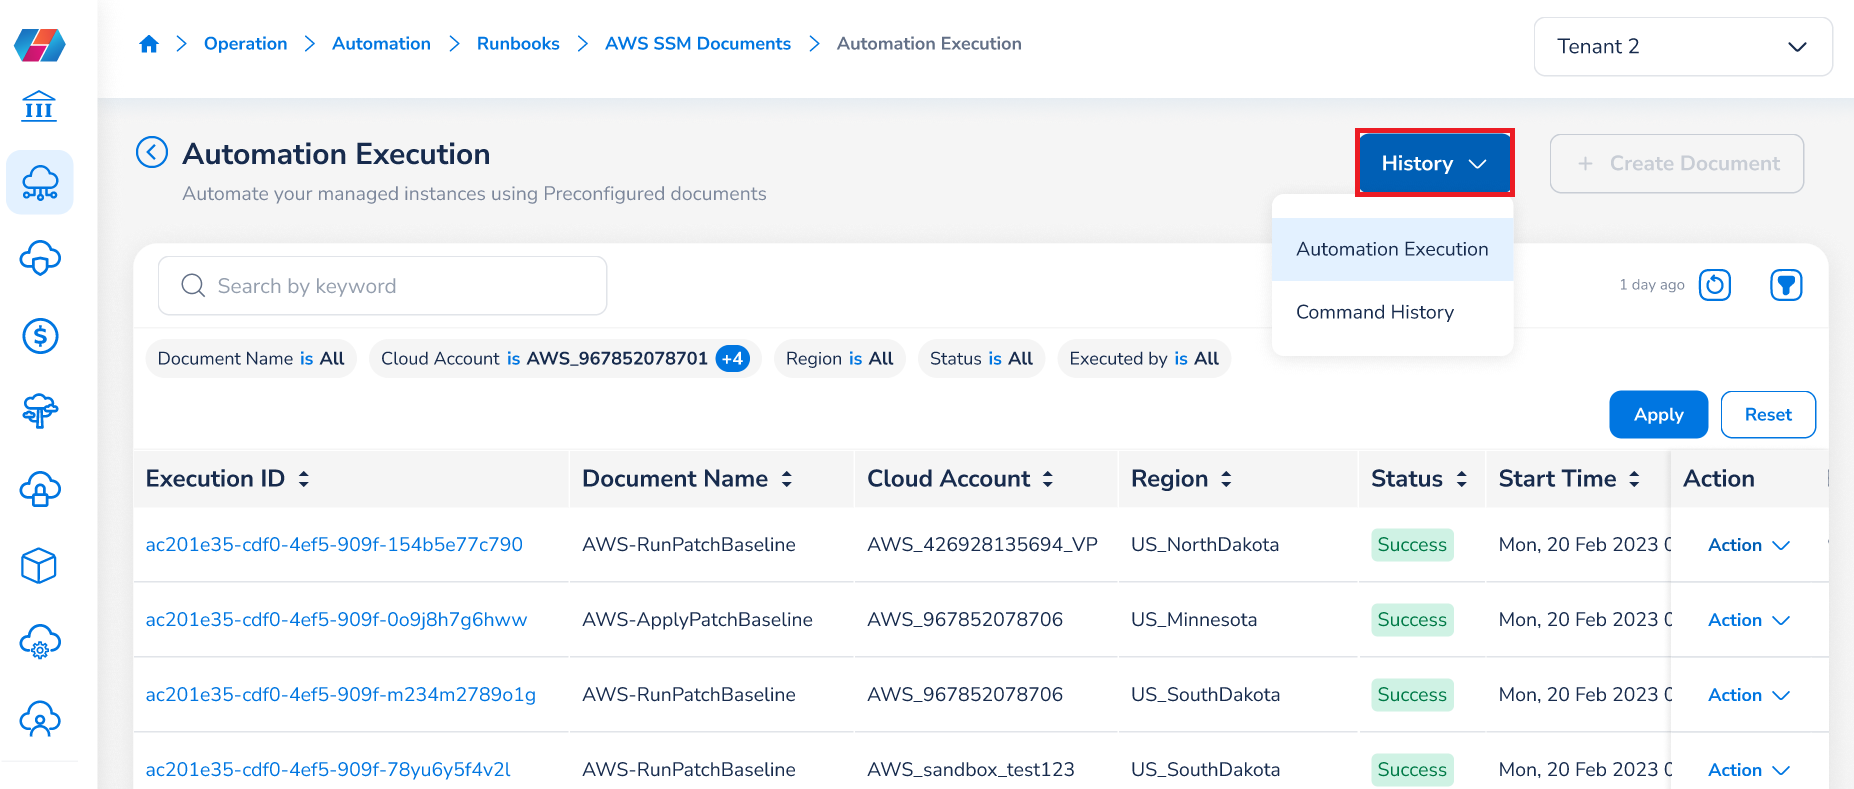
If you select History > Automation Execution, then you can see the list of automation documents executed. You can see the details like execution ID, document name, cloud account name, region of the cloud account, status of execution, start and end time of execution, and who it was executed by.
To view detailed execution information, you can click on a particular execution ID or click Action > View Details.
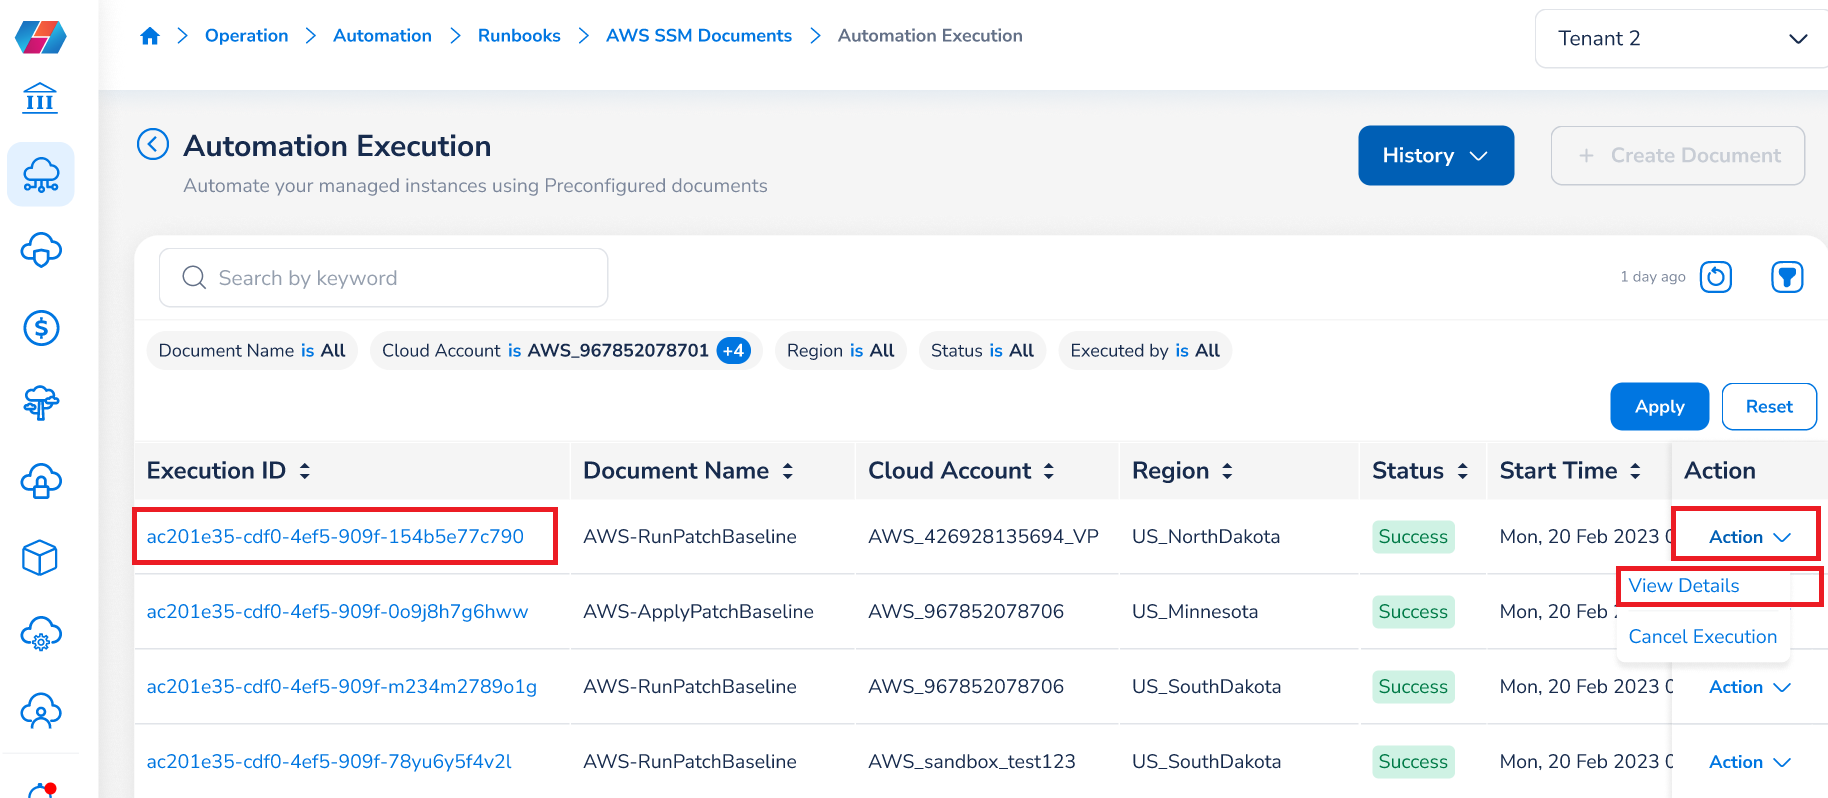
If you want to stop the execution of a document, then click Action > Cancel Execution at any time.
Note:
- Document execution in AWS portal will not be synced with CoreStack.
- Documents are synced from AWS every 12 hours each day.
Email Notification about AWS SSM Execution Failure
SSM now supports email notifications to users who have triggered the SSM documents. If there is a failure in execution, users will receive a notification about the failure through an email. They will receive all the details in the email and will be able to navigate to the respective execution for mitigation.
Updated 6 months ago